VidFinder is the visual video organizer for Mac. This guide walks you through everything you need to know to set up your library, find any clip in seconds, and get it into your editor without searching through folders.
VidFinder works with the storage you already have. Wherever you save your originals – in local folders, iCloud, Google Drive, or an external hard drive – they remain exactly where they are. VidFinder gives you a faster way to see and search for them, not another place you have to save them.
By the end of this article, you'll know how to connect your folders, process your clips, search across your entire library, and pull videos straight into your editing software.
Step 1
Connect your folders
The first step is to connect the folders you want in your library. Click Add Folder to select the folder you want VidFinder to index.
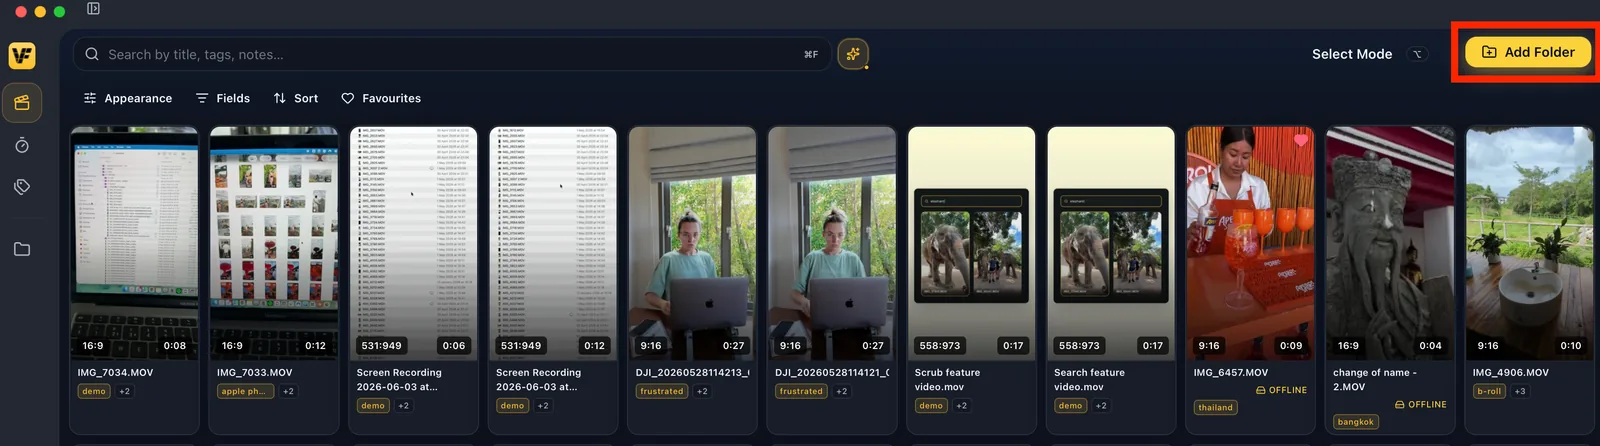
That includes:
- Local folders on your Mac
- External hard drives
- iCloud-synced folders
- Google Drive
- Or any cloud drive that you can view in Finder
VidFinder only pulls in video files – it ignores documents, images, and apps. Your original files don't move, copy, or change in any way.
Step 2
Wait for your videos to be indexed
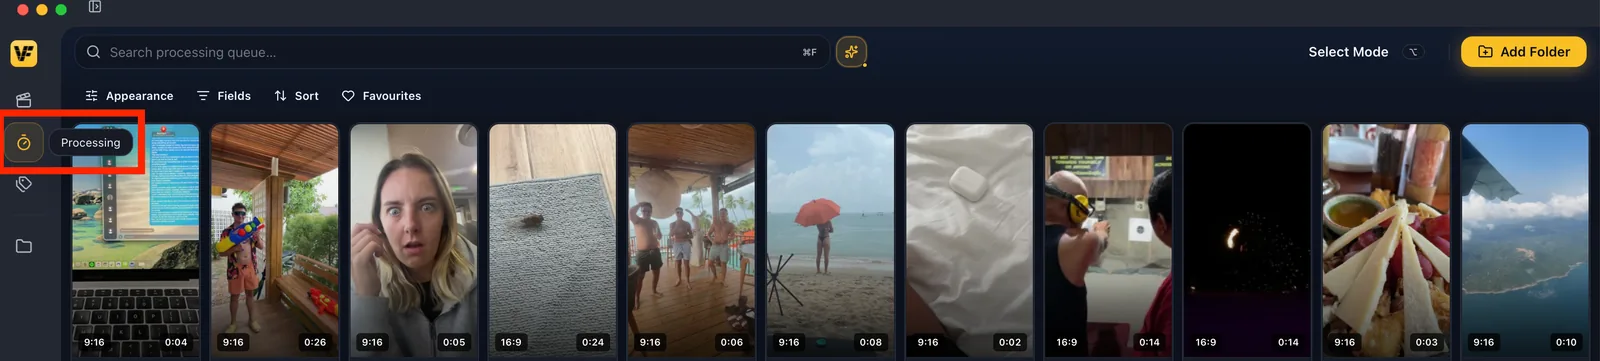
As soon as you connect a folder, VidFinder starts indexing. Head to the Processing tab to see it happening in real time.
This is where all newly indexed videos will appear, so anytime you add new footage to a connected folder, they will automatically appear here.
Step 3
Organize your library – your way
In the Processing tab, here are three ways to organize your clips depending on how you work best.
Option A: Process one video at a time
Click into any video to:
- Add custom tags
- Mark it as a favorite
- Scrub through the preview or watch the full clip
- Hide it from VidFinder
- Mark it as processed
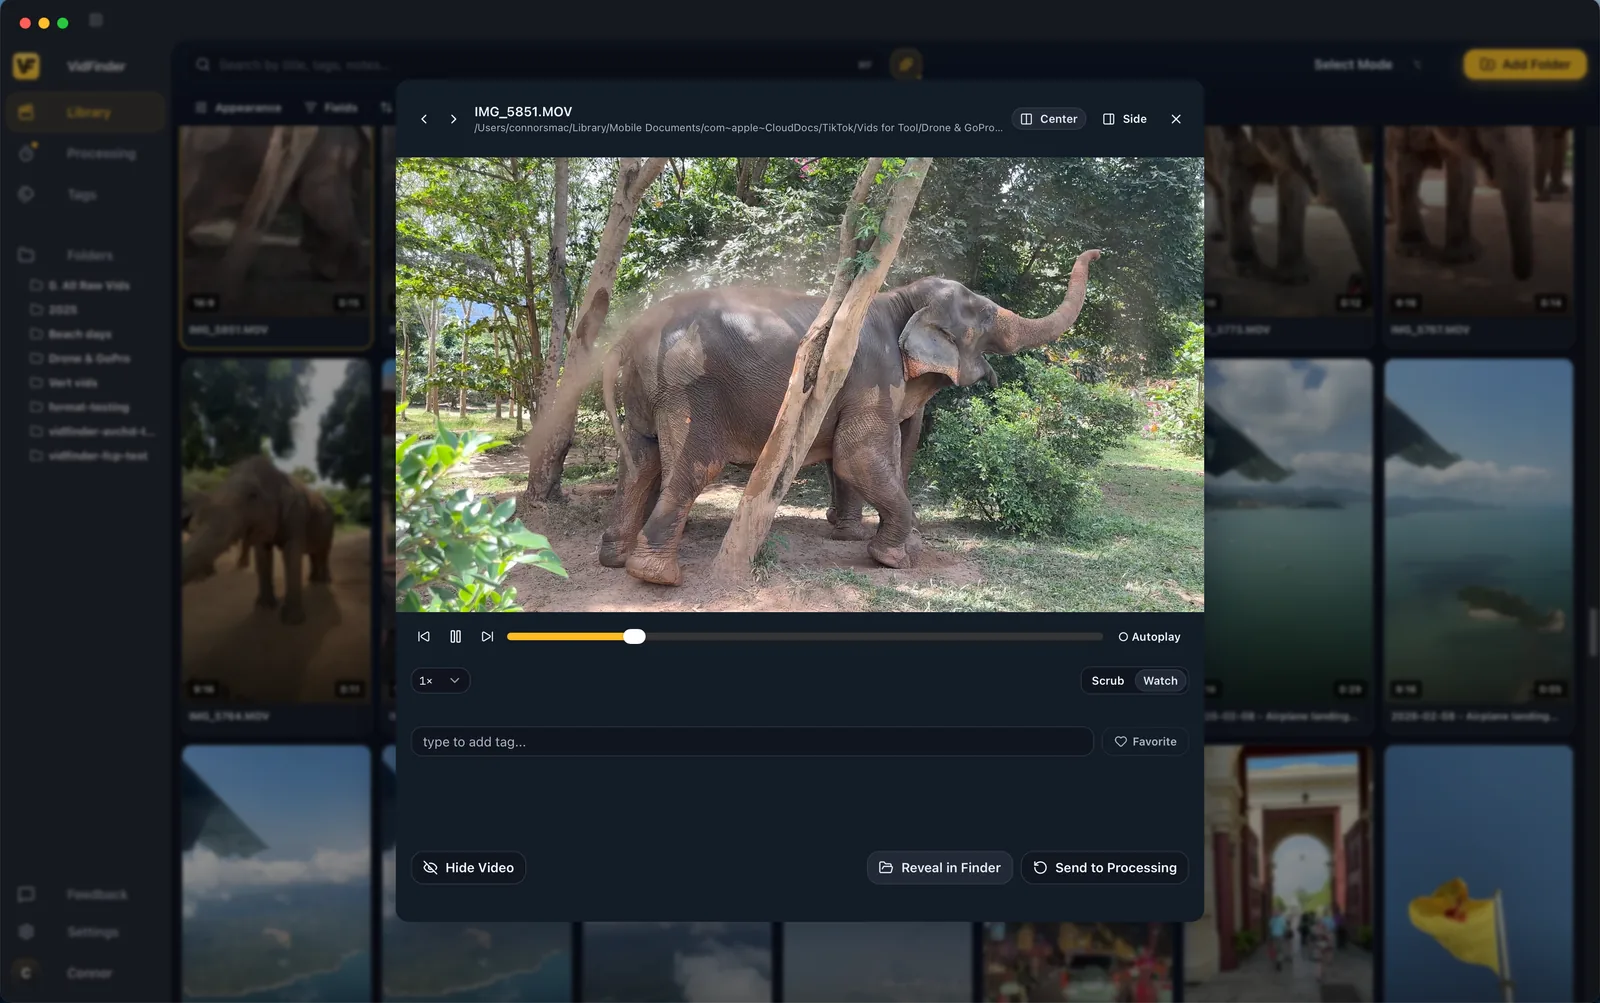
This is the most hands-on approach – useful when you want full control over a specific batch of footage.
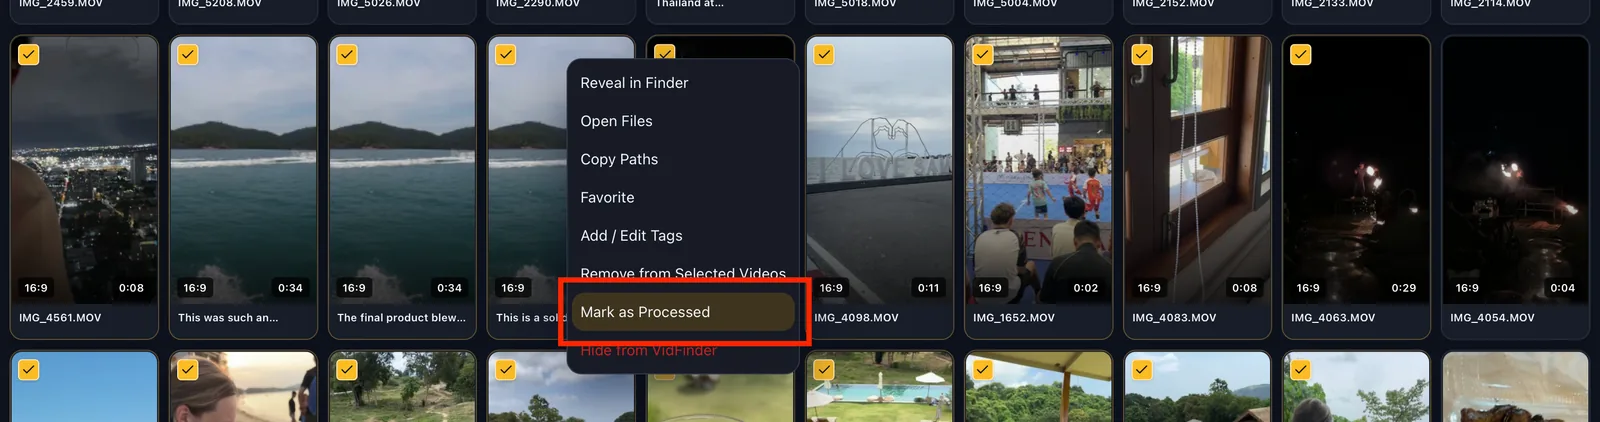
Option B: Process videos in bulk
Select multiple clips at once and apply the same actions to all of them by:
- Right clicking to show the dropdown menu
- Using the selection tray that appears at the bottom of the screen
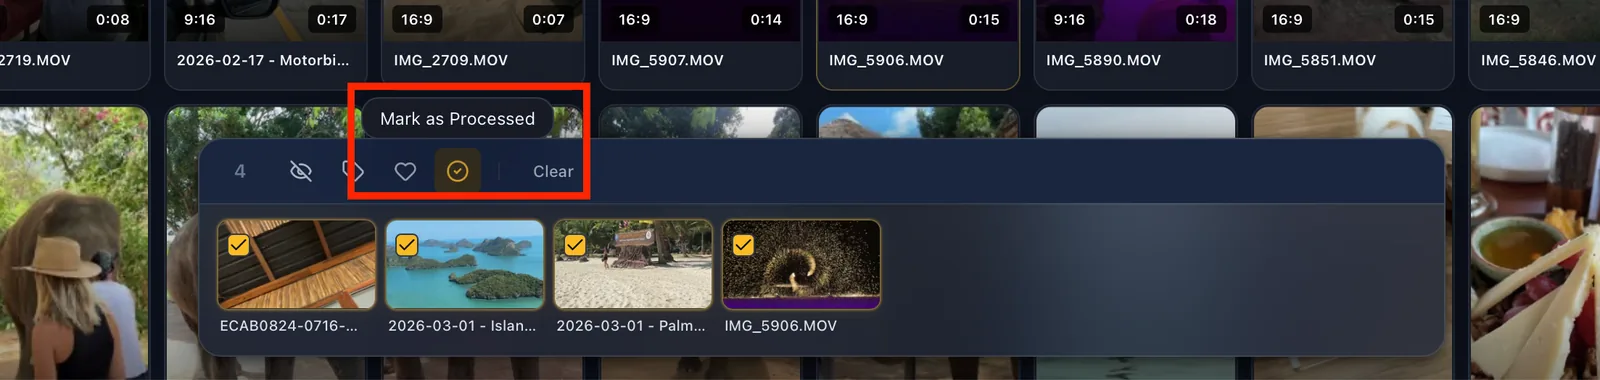
Any action you can complete in one clip, you can also do in bulk. This is the fastest way to organize and add custom tags to large volumes of footage at once.
Option C: Skip processing entirely
You don't actually have to organize anything to start using VidFinder.
Select all your clips, mark them as processed, and head straight to your library. Smart Search will search using your existing folder and file names, and objects it detects in the frame.
Step 4
Head to your library to start searching
All of your processed videos move straight to your library, where they're ready to search. You can search one term, or stack search terms to get specific.
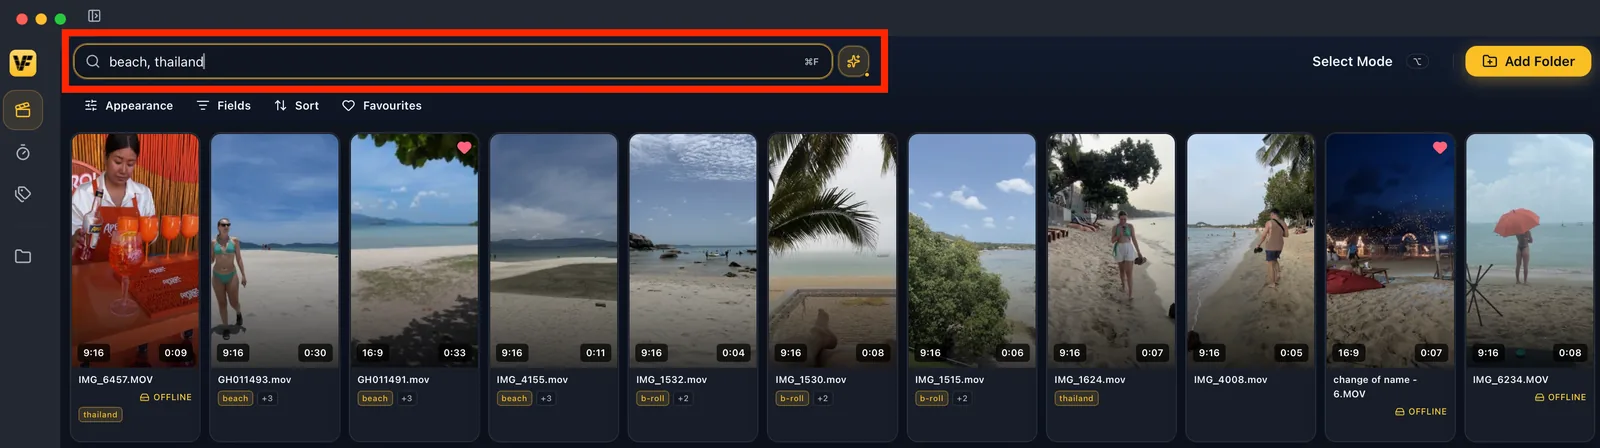
Smart Search looks at four things at once:
- Your file names
- Your folder names
- Any custom tags you've added in VidFinder
- What's actually in the frame
Search beach and drink, and VidFinder returns every clip that matches both, ranked by how closely it thinks each one fits.


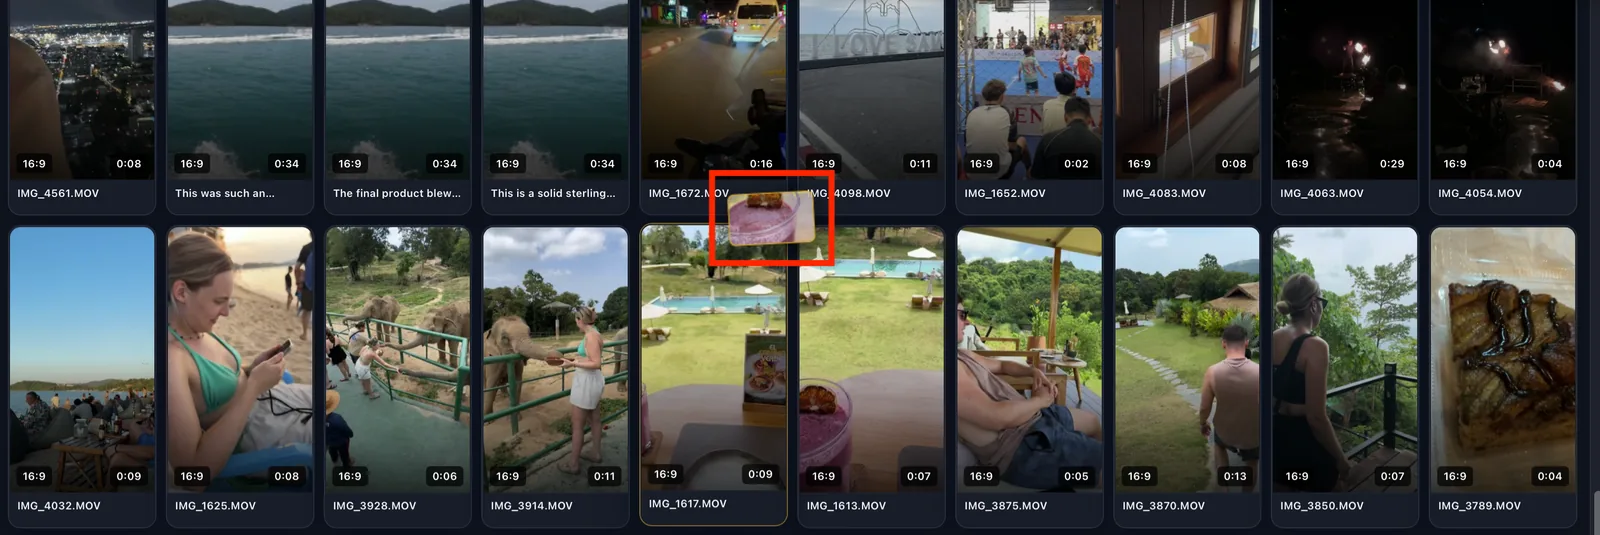
Hover a clip and scroll – the thumbnail scrubs through the footage in real time. No opening, no loading.
Step 5
Click and drag clips straight into your editing tools
Drag individual clips directly from your library into any editing tool (or anywhere you can drag files, like a folder, email, or messages).
Or move multiple selected clips from the selection tray in one go.

Good to know
More tips for using VidFinder, and a few reminders
What does VidFinder do to your original files?
VidFinder is read-only. It never:
- Moves your files
- Renames your files
- Uploads your files to a cloud
- Modifies your files in any way
How to reconnect folders that have moved
If you move or rename a folder outside VidFinder, the app loses its connection to the files inside. But it is an easy fix.
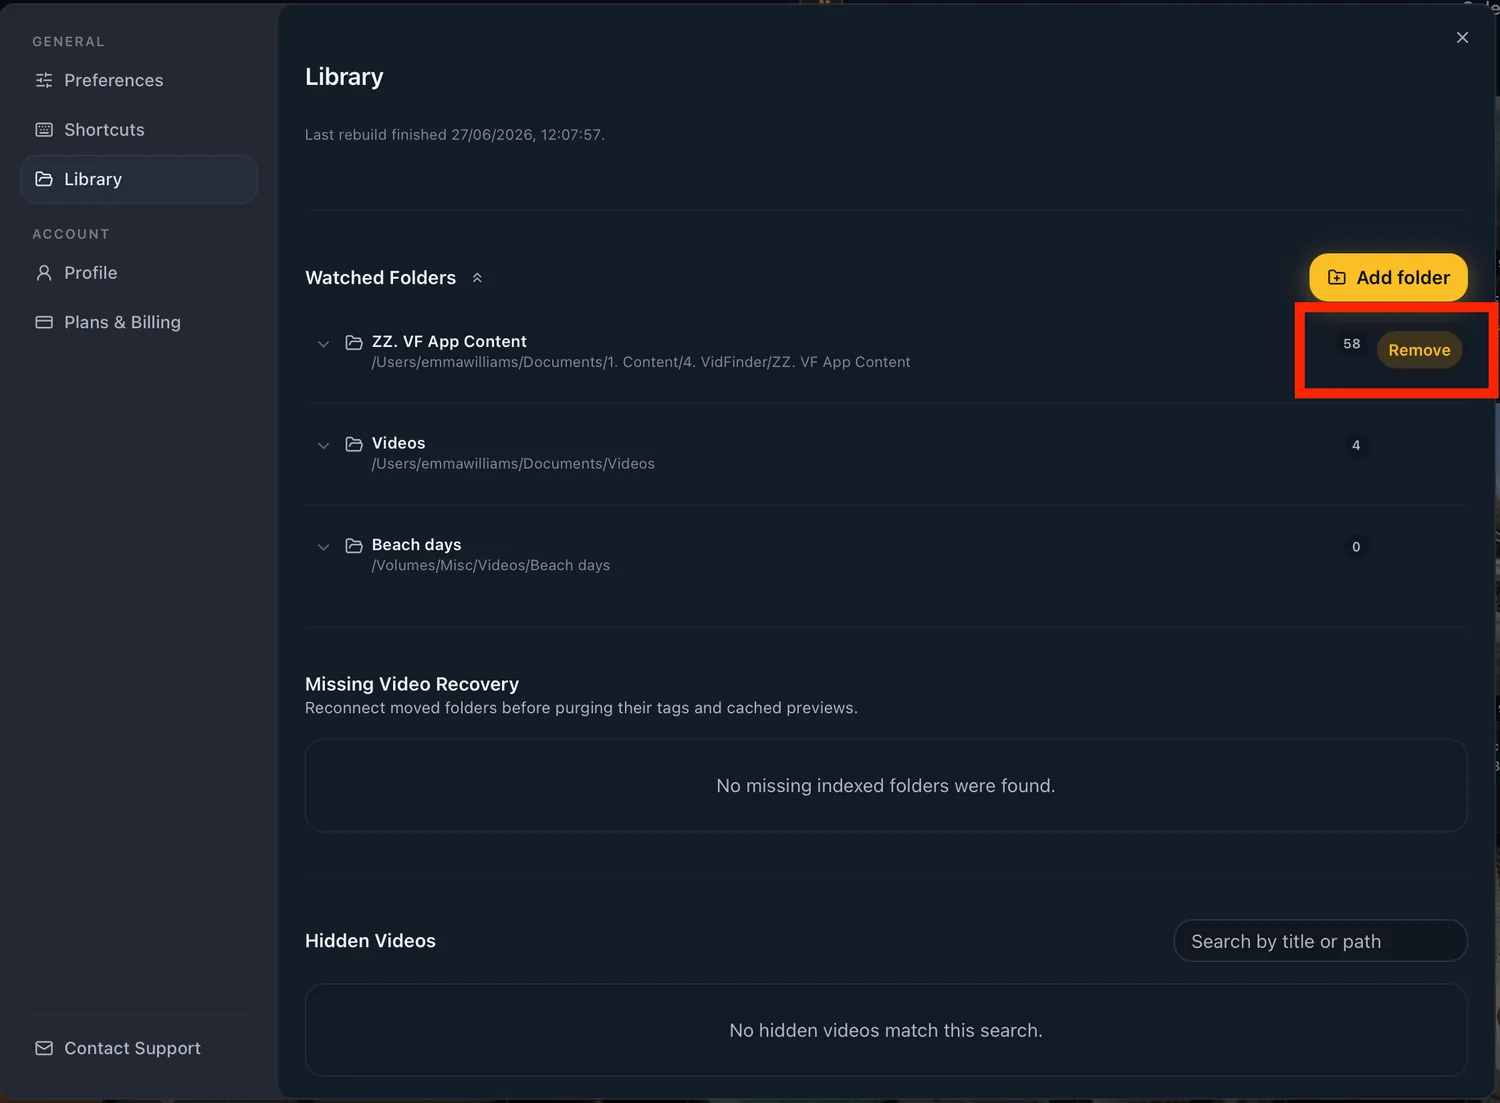
Go to Settings → Library, find the disconnected folder, and either:
Reconnect it by selecting the new location in the pop-up window. This reconnects the folder immediately and does not require VidFinder to reindex the videos.
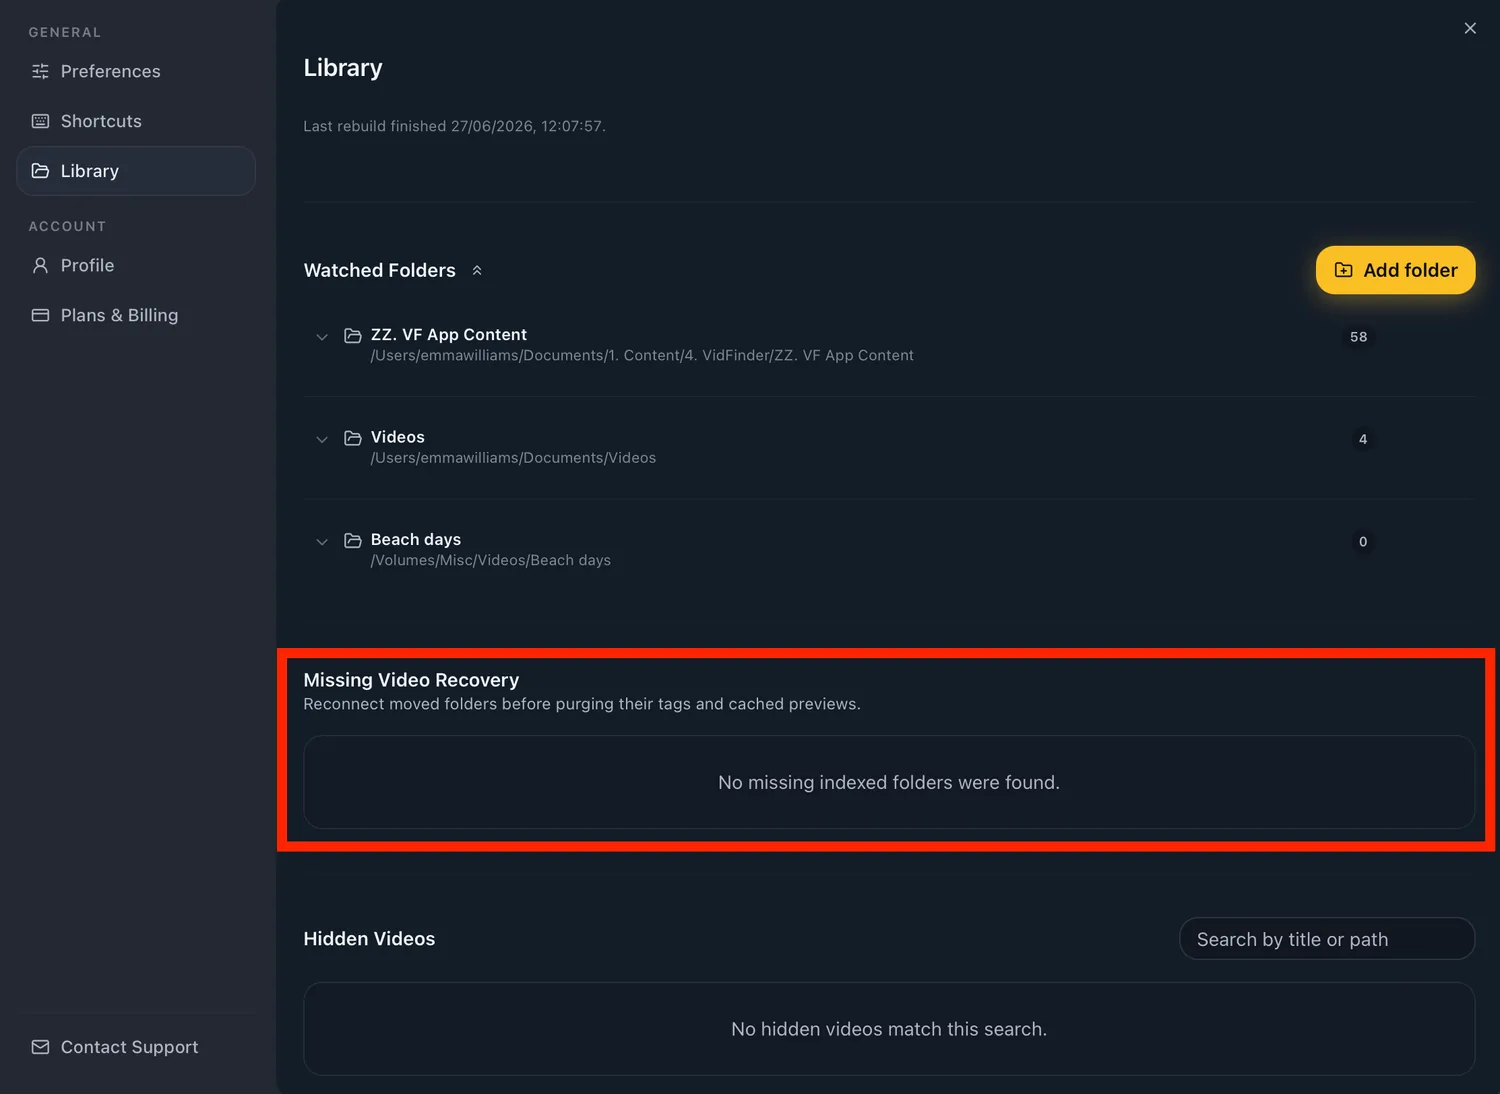
Disconnect it if you no longer want that folder in your library. This clears the cached previews and tags, but leaves every source file exactly where it was.
The best way to index a large library
If you have tens of thousands of videos for VidFinder to index, it will take time.
We recommend letting VidFinder do its initial run when you're not editing or running other heavy software. This is the fastest way for your videos to index.